How to Download and Install OBS Studio
Getting started with streaming or recording begins with the right software.
OBS Studio is the industry standard—a powerful, free, and open-source tool.
This guide provides clear, step-by-step instructions to help you safely download and install OBS on your Windows computer.
This article covers the process for Windows. If you are a Mac user, see our guide here:
[Link] How to Download and Install OBS on macOS
How to Download OBS Studio
To ensure a safe installation, you should only download OBS from the official source.
This guarantees you get the latest, malware-free version.
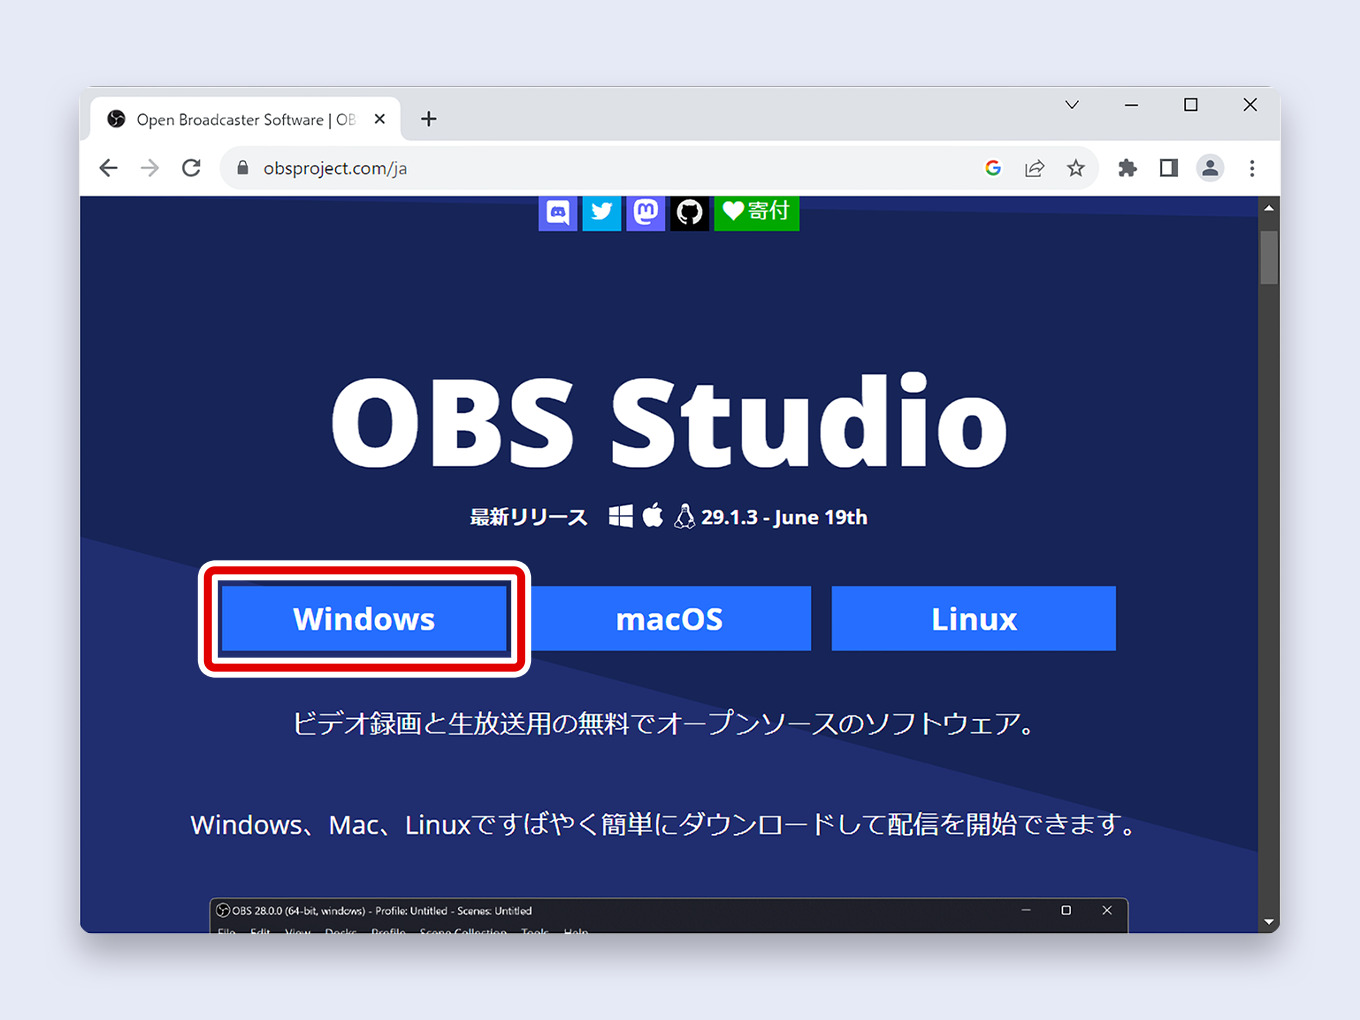
1. Go to the Official OBS Project Website
First, open your web browser and navigate to the official OBS download page.
2. Click the “Windows” Button
On the homepage, you will see download options for Windows, macOS, and Linux.
Click the Windows button.
This will automatically start the download for the latest OBS Studio 64-bit version, which is standard for all modern PCs.
The download will begin immediately.
How to Install OBS Studio
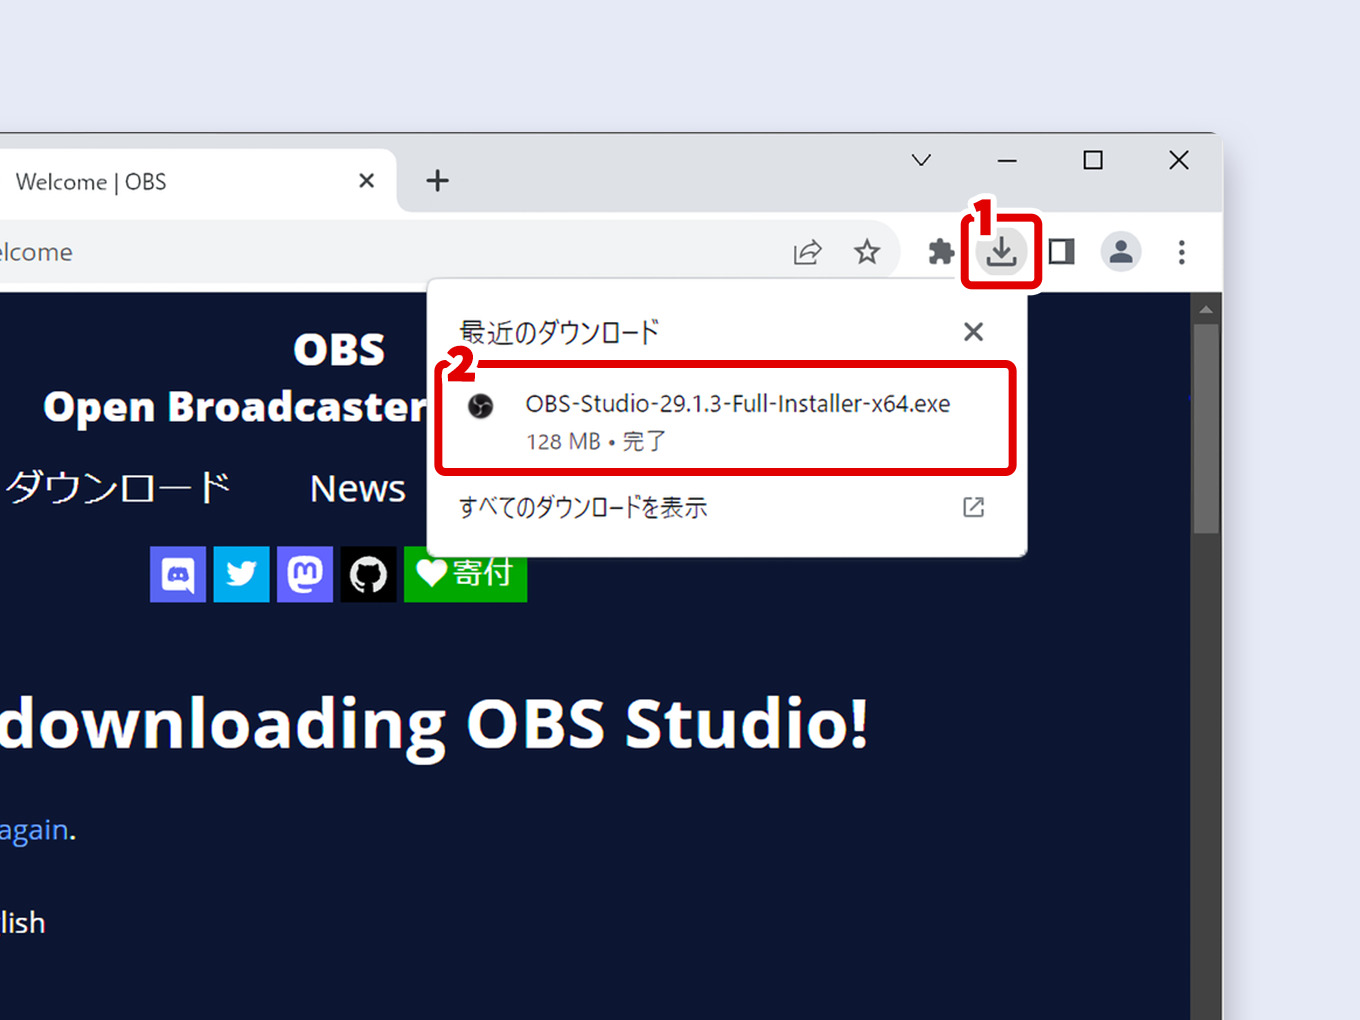
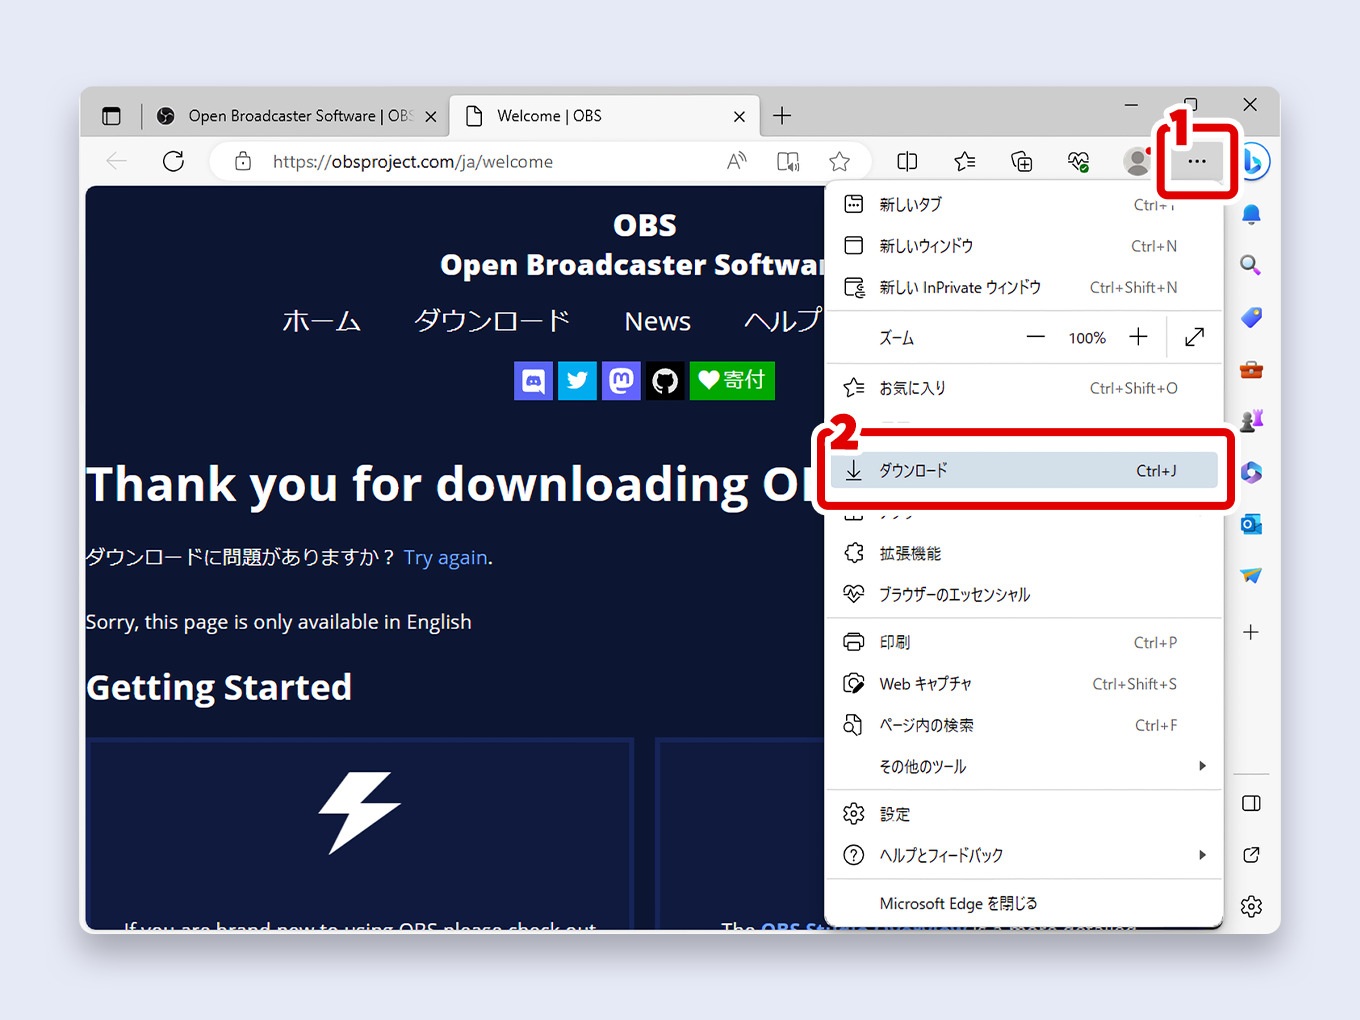
Once the OBS-Studio-xx.x.x-Full-Installer-x64.exe file has finished downloading, you are ready to install the program.
1. Locate and Run the OBS Installer
Find the downloaded installer file and double-click it to run. You can typically find it in one of these locations:
In Chrome↓
In Edge↓
In File Explorer
pen File Explorer and navigate to your “Downloads” folder.

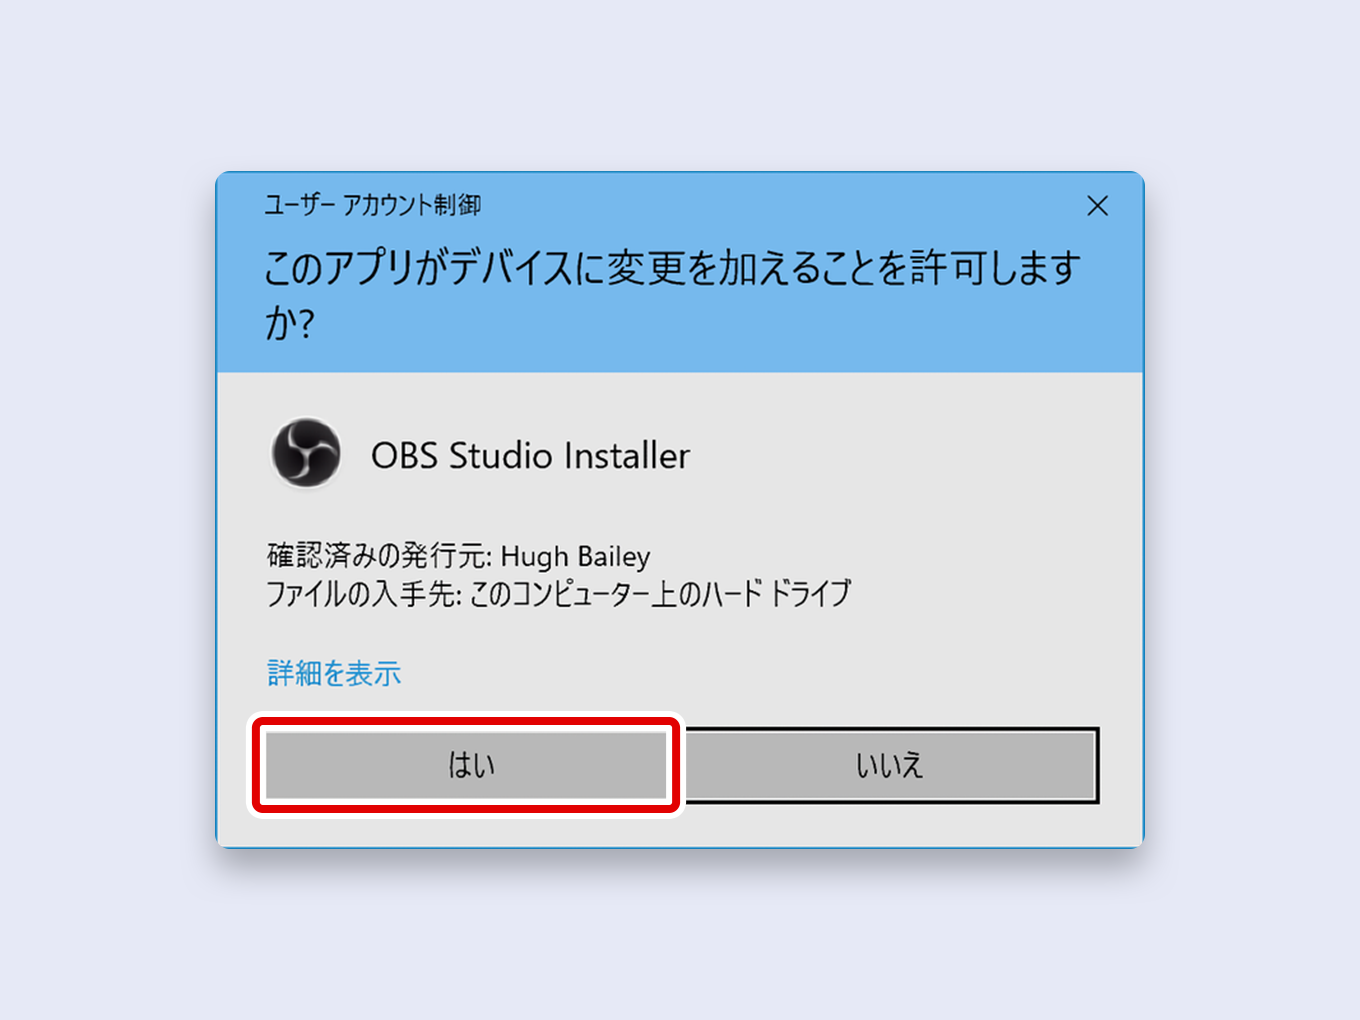
2. Approve the User Account Control (UAC) Prompt
Windows will display a User Account Control prompt asking, “Do you want to allow this app to make changes to your device?” This is a standard security check.
The verified publisher should be “Hugh Bailey.”
Click Yes to proceed.
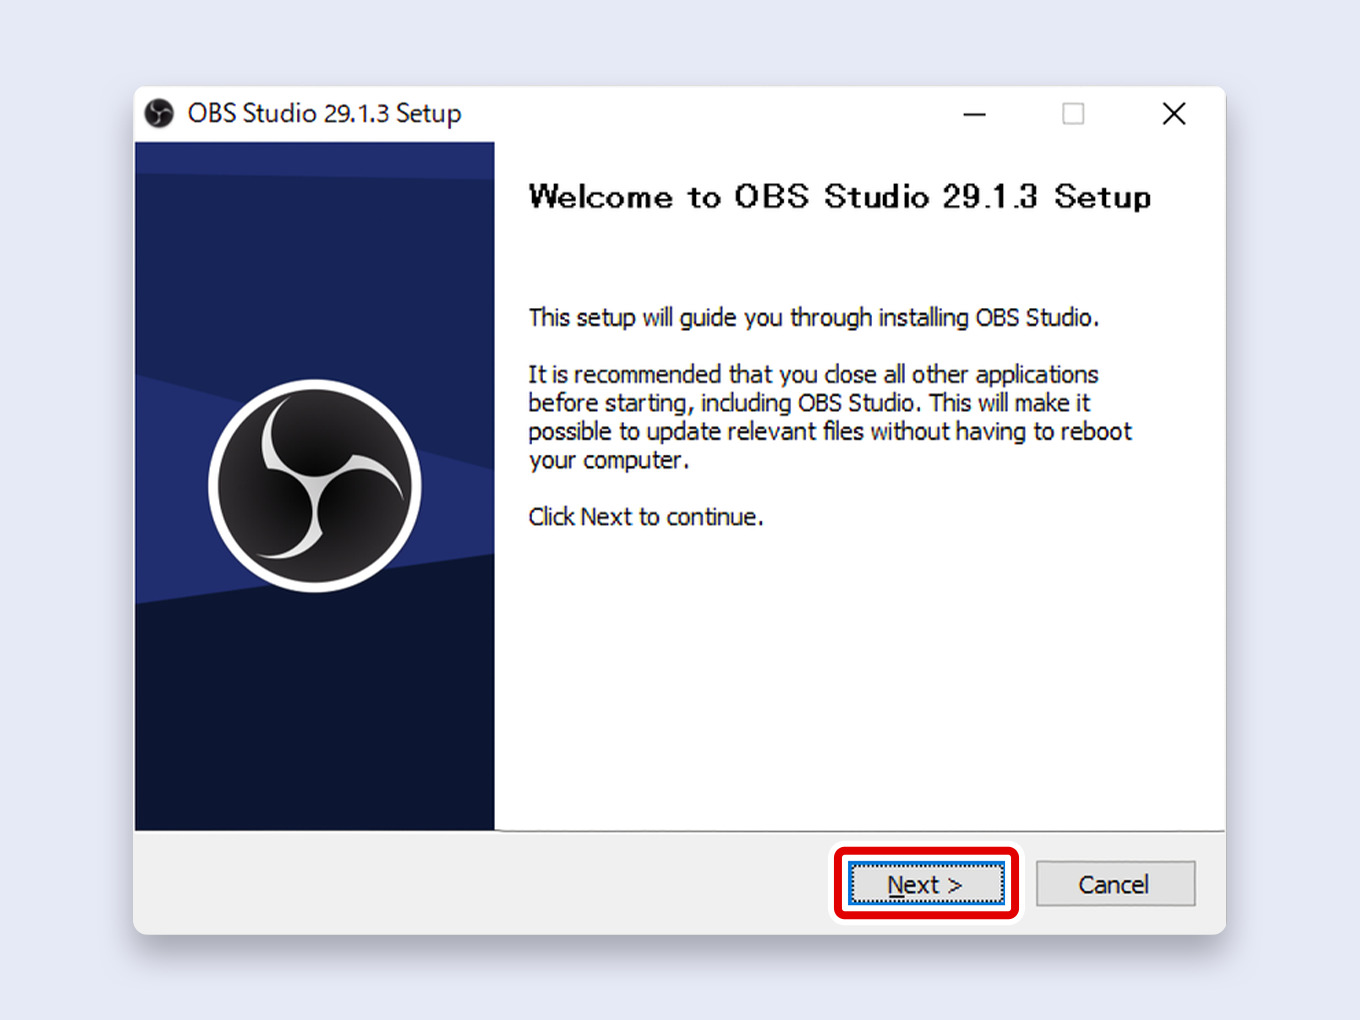
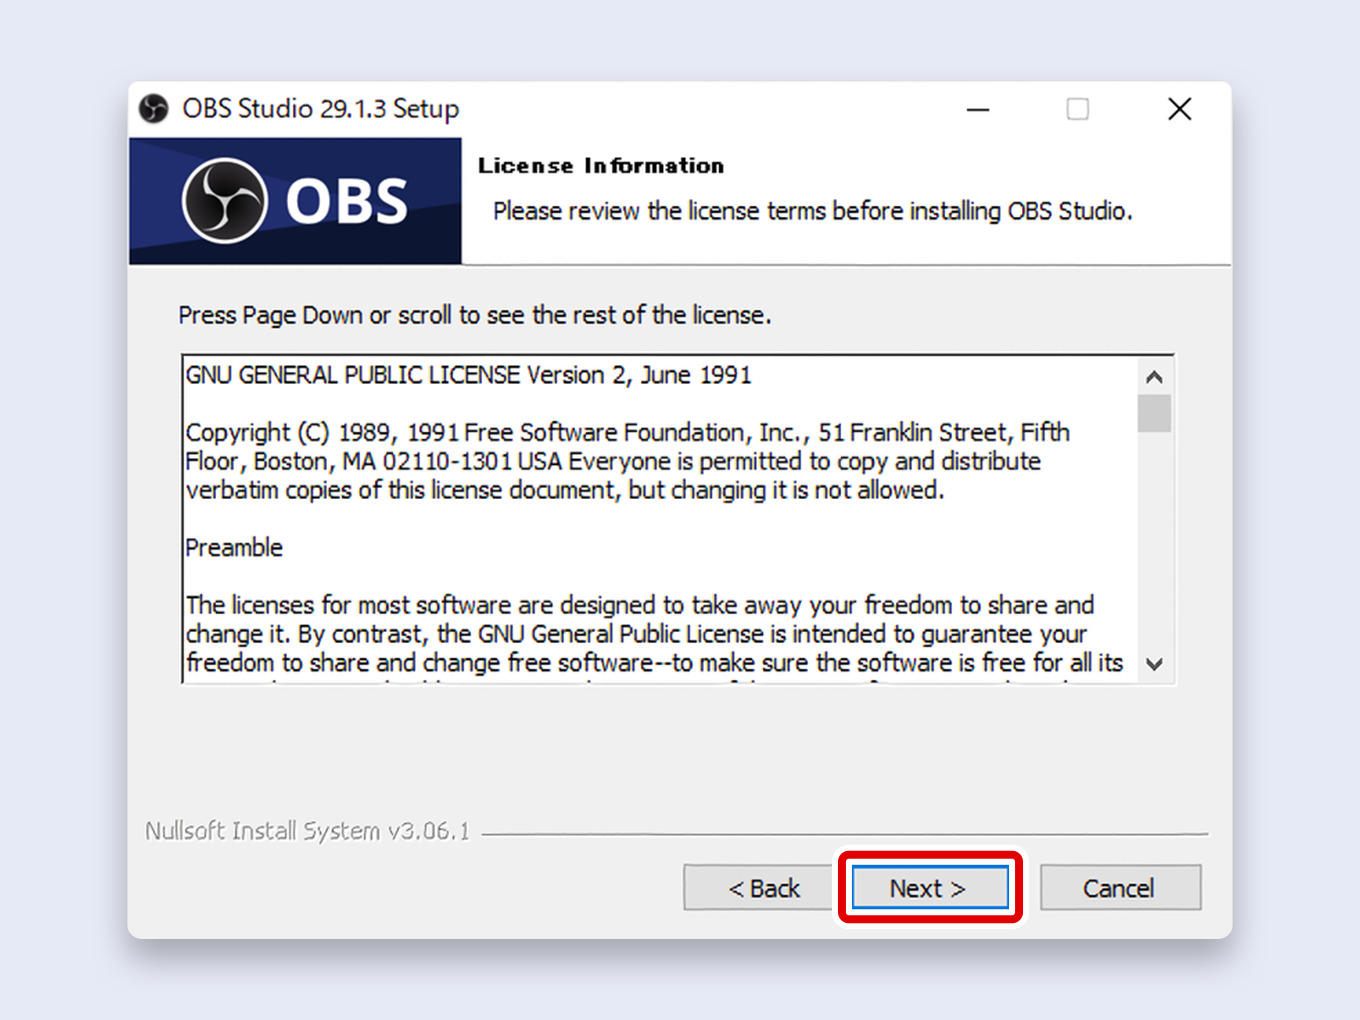
3. Proceed Through the Setup Wizard
The OBS Studio Setup wizard will now open.
Click Next > to continue.
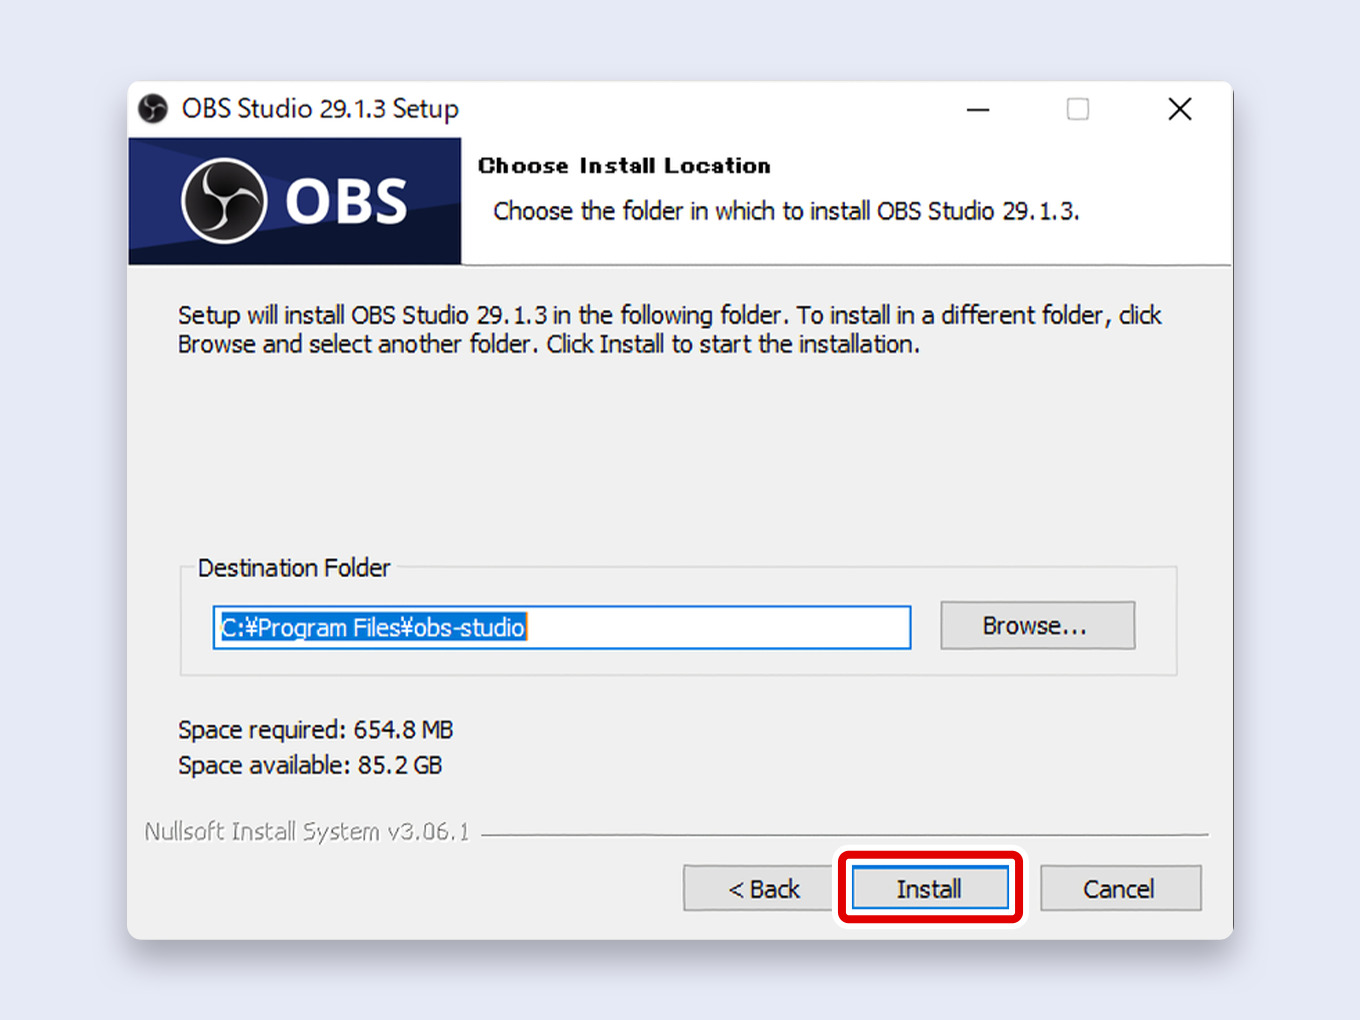
4. Choose the Install Location and Install
The installer will ask you to choose a destination folder.
For most users, the default location is recommended.
There is no need to change this unless you have a specific reason.
Click Install to begin the installation.
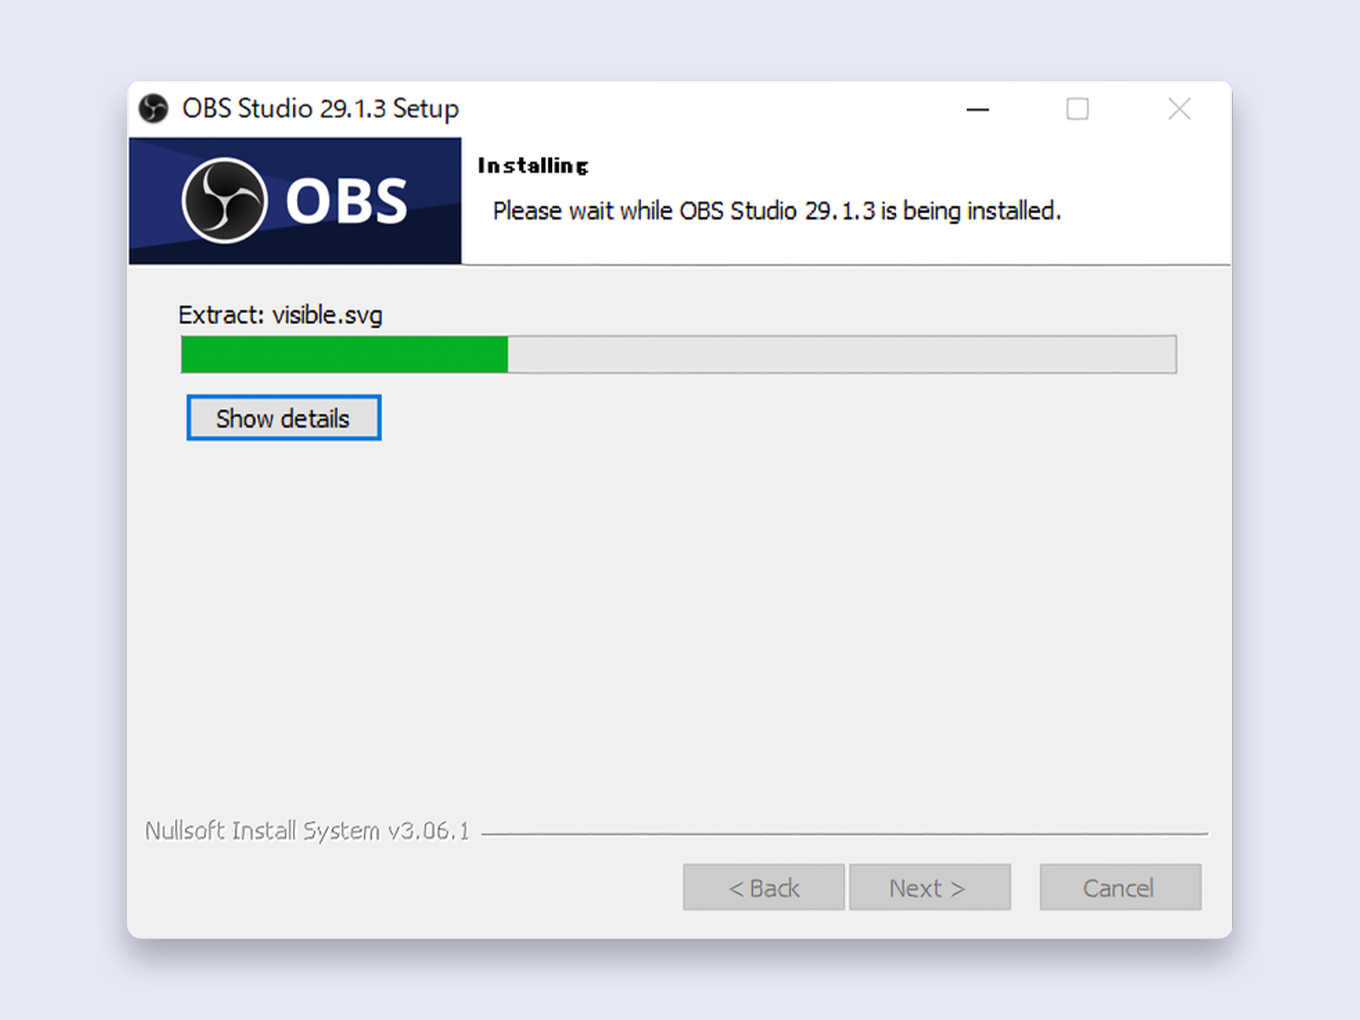
The installation process will now run.
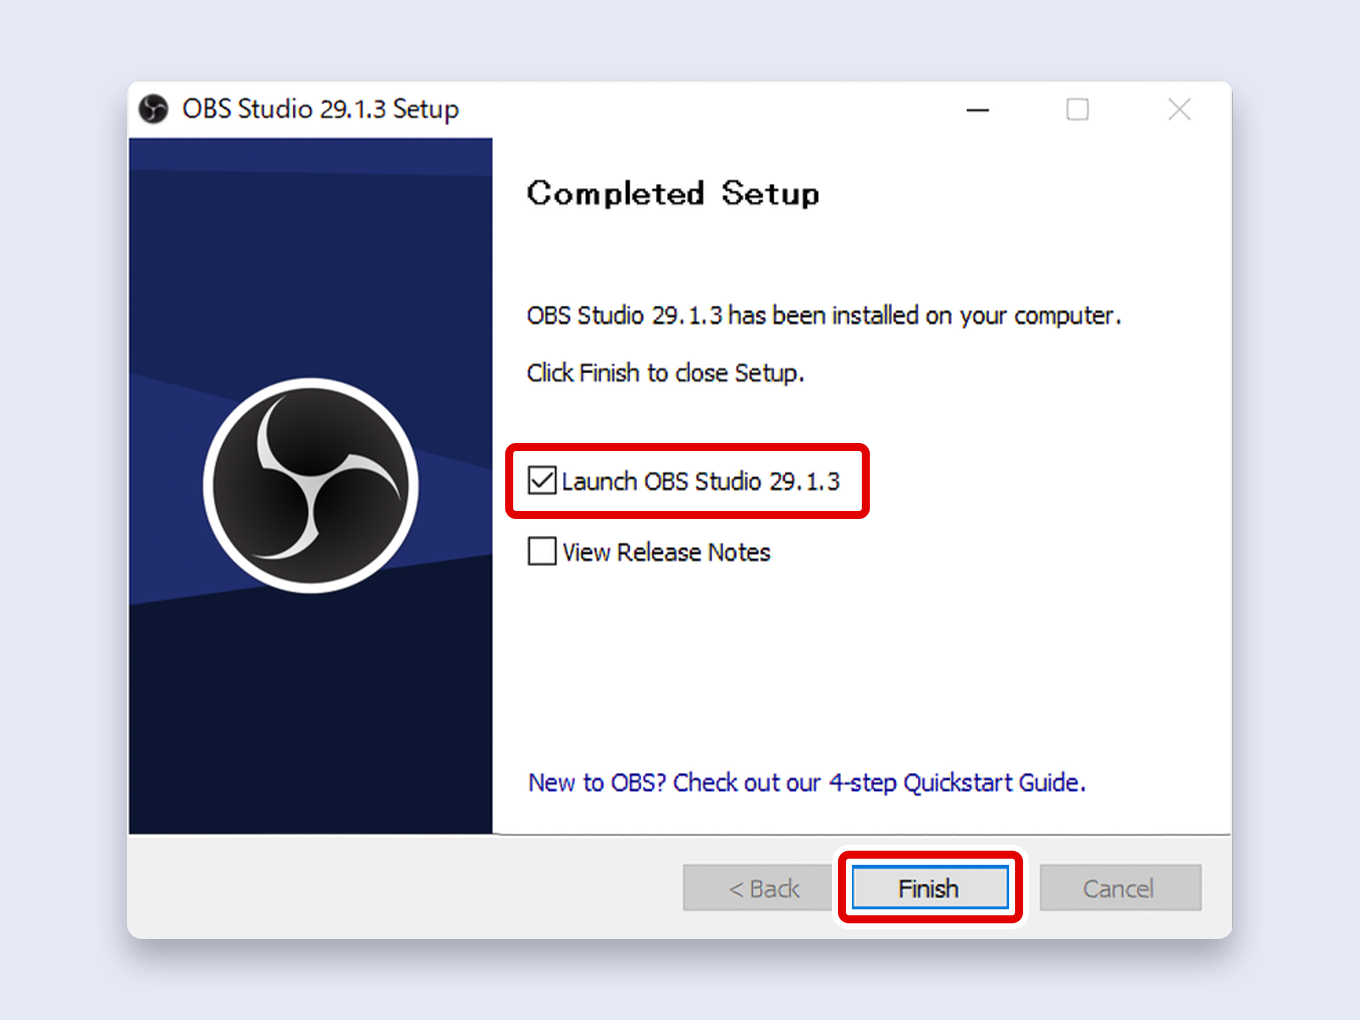
5. Complete the Installation
Once the installation is finished, the “Completed Setup” screen will appear.
Ensure the “Launch OBS Studio” box is checked and click Finish.
6. Skip the Auto-Configuration Wizard (For Now)
When OBS launches for the first time, it will prompt you to use the Auto-Configuration Wizard.
This tool automatically tests your system and suggests settings.
While helpful, I personally recommend skipping this for now.
Manually configuring your settings is the best way to learn how OBS works.
Click Cancel.
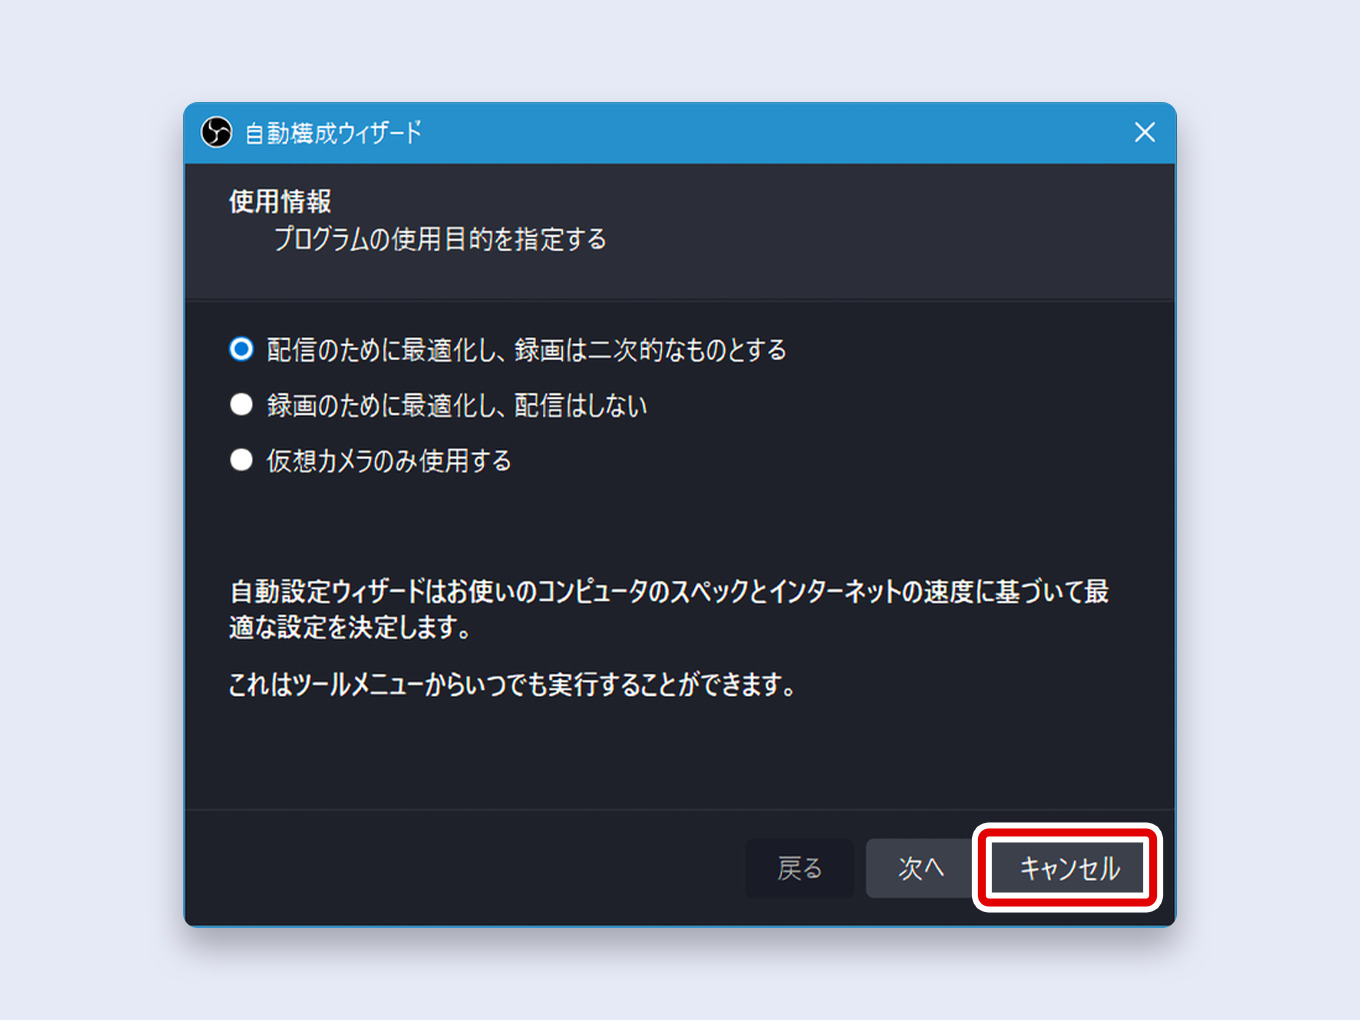
You can always run the wizard later by going to Tools > Auto-Configuration Wizard from the main OBS window.
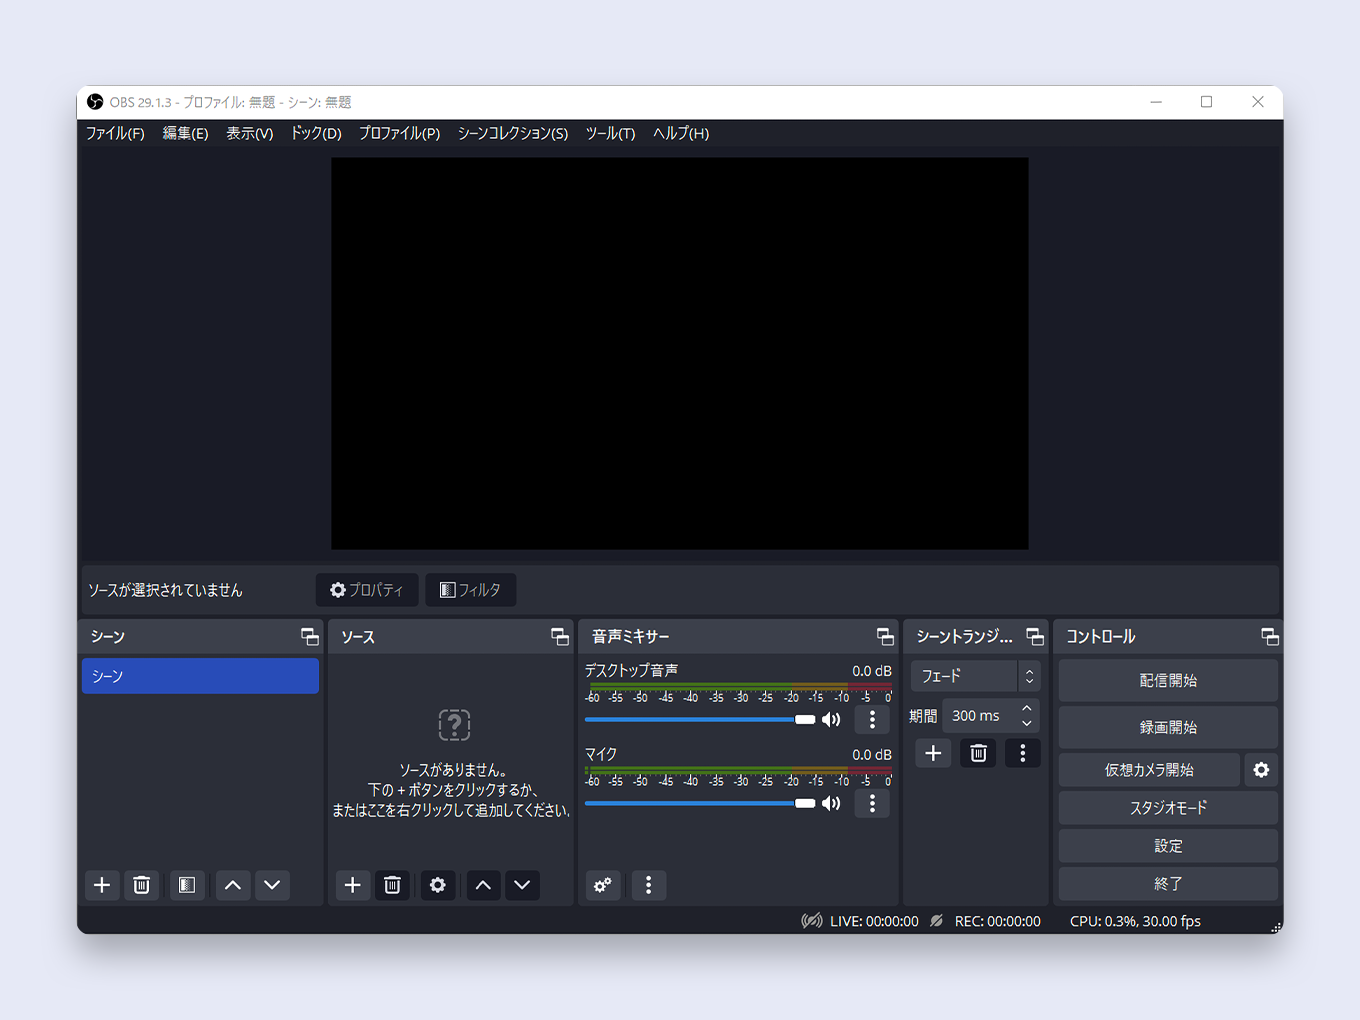
Congratulations!
OBS Studio is now installed on your computer.
What to Do After Installing OBS
Now that you have OBS installed, the next step is to learn the basics of setting it up for streaming or recording.
We’ve created a simple guide to help you configure the essential settings.
[Link] Getting Started with OBS: A Beginner’s Setup Guide
Frequently Asked Questions (FAQ)
Q: Can I download OBS from websites other than the official one?
A: No. To ensure your system’s security and receive the legitimate software, you should only ever download OBS from the official website, obsproject.com.
Q: An error appeared during the installation. What should I do?
A: Installation errors can be caused by antivirus software, insufficient permissions, or corrupted files.
See our troubleshooting guide for solutions.
[Link to troubleshooting guide]
Q: How do I update OBS?
A: OBS will automatically check for updates when you open it.
You can also manually check by going to Help > Check for Updates in the OBS menu bar.
Q: Is there a way to revert to a previous version of OBS?
A: Yes, the official OBS GitHub page hosts archives of previous versions.
However, this is only recommended for advanced users who need to resolve a specific compatibility issue.