How to Downgrade OBS (A Guide to Installing an Older Version)
はいしんせかい
Did a recent OBS Studio update cause unexpected bugs, crashes, or conflicts with your games?
When the latest version introduces more problems than it solves, the quickest solution is often to roll back the OBS update and revert to a previous, stable release.
This guide provides a simple, step-by-step process to downgrade OBS. The process is straightforward and involves installing an older version directly over your current one.
In most cases, no. Your settings, scenes, sources, and profiles will be preserved when you install an older version. OBS is designed to keep your configuration intact.
However, to be safe, I strongly recommend backing up your settings before proceeding. Unexpected issues can always occur. You can easily do this by:
Taking screenshots of your key settings tabs (Output, Video, Audio).
Using the Profile > Export and Scene Collection > Export functions in OBS to create backup files.
This ensures you can quickly restore everything if anything goes wrong.
How to Downgrade OBS Studio: Step-by-Step
Here is the simple three-step process to install an older version of OBS.
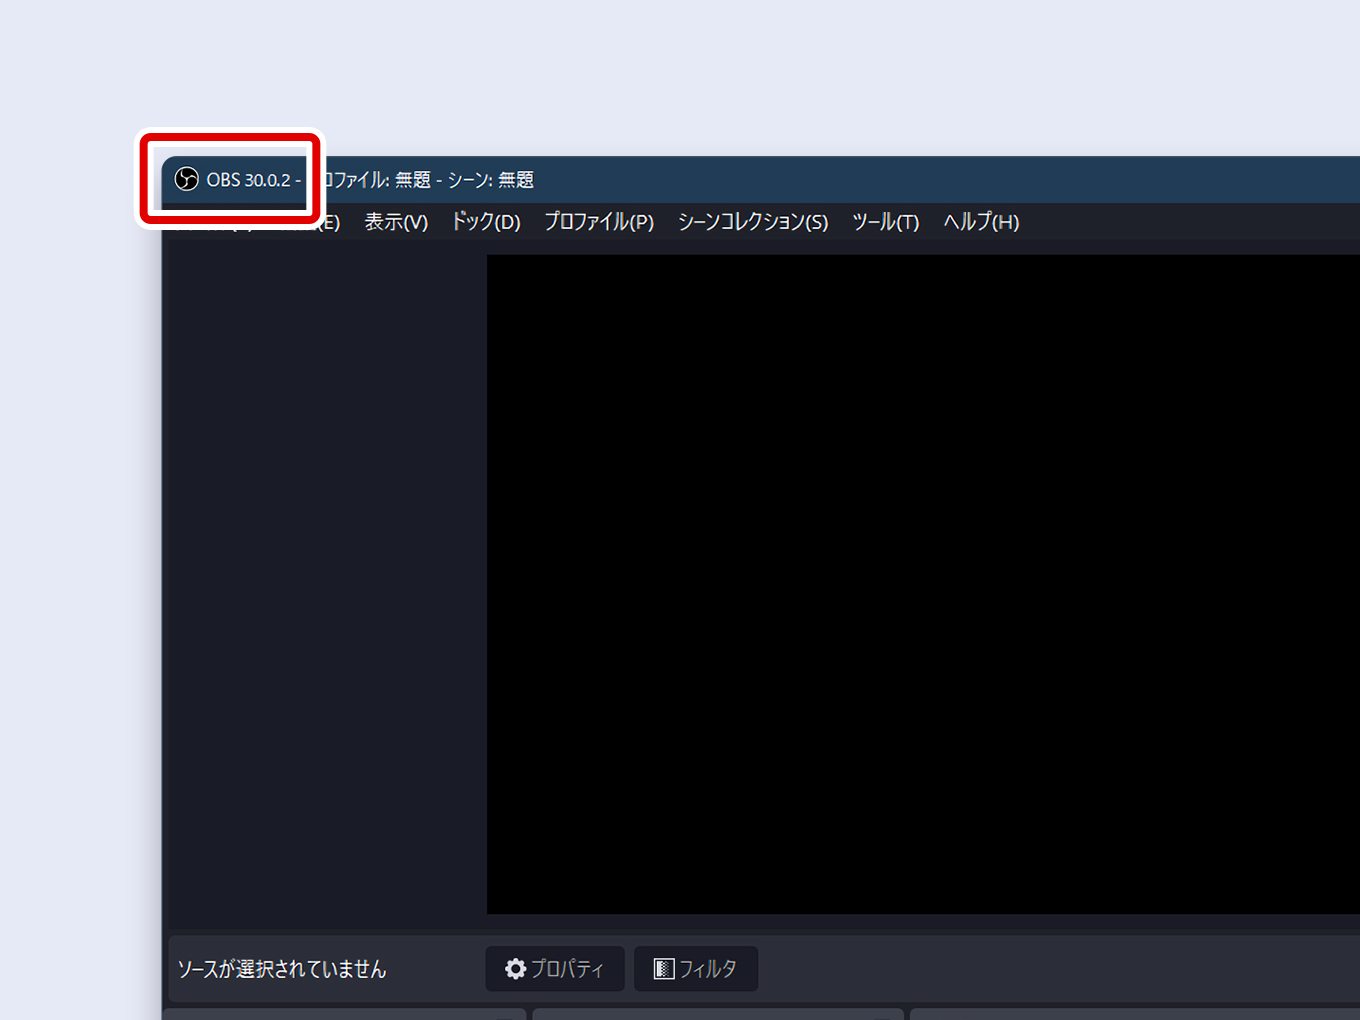
1. Check Your Current OBS Version
First, take note of the version you are currently running. You can find the version number in the top-left corner of the OBS window’s title bar. This will help you identify which older versions to download.
2. Download a Previous Version from GitHub
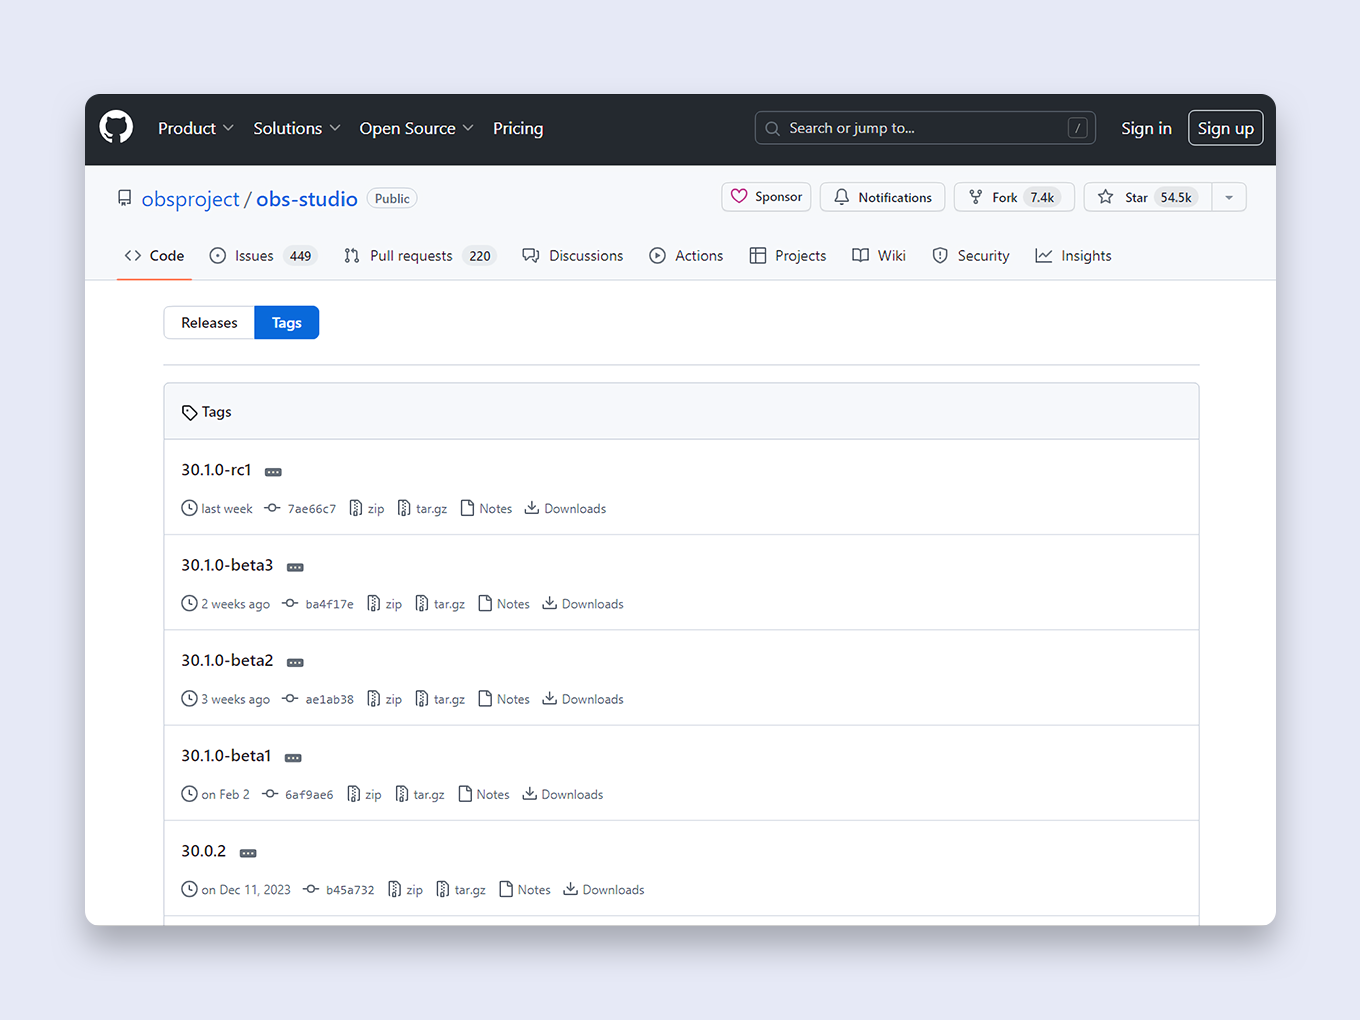
All official OBS previous version downloads are archived on the project’s GitHub releases page.
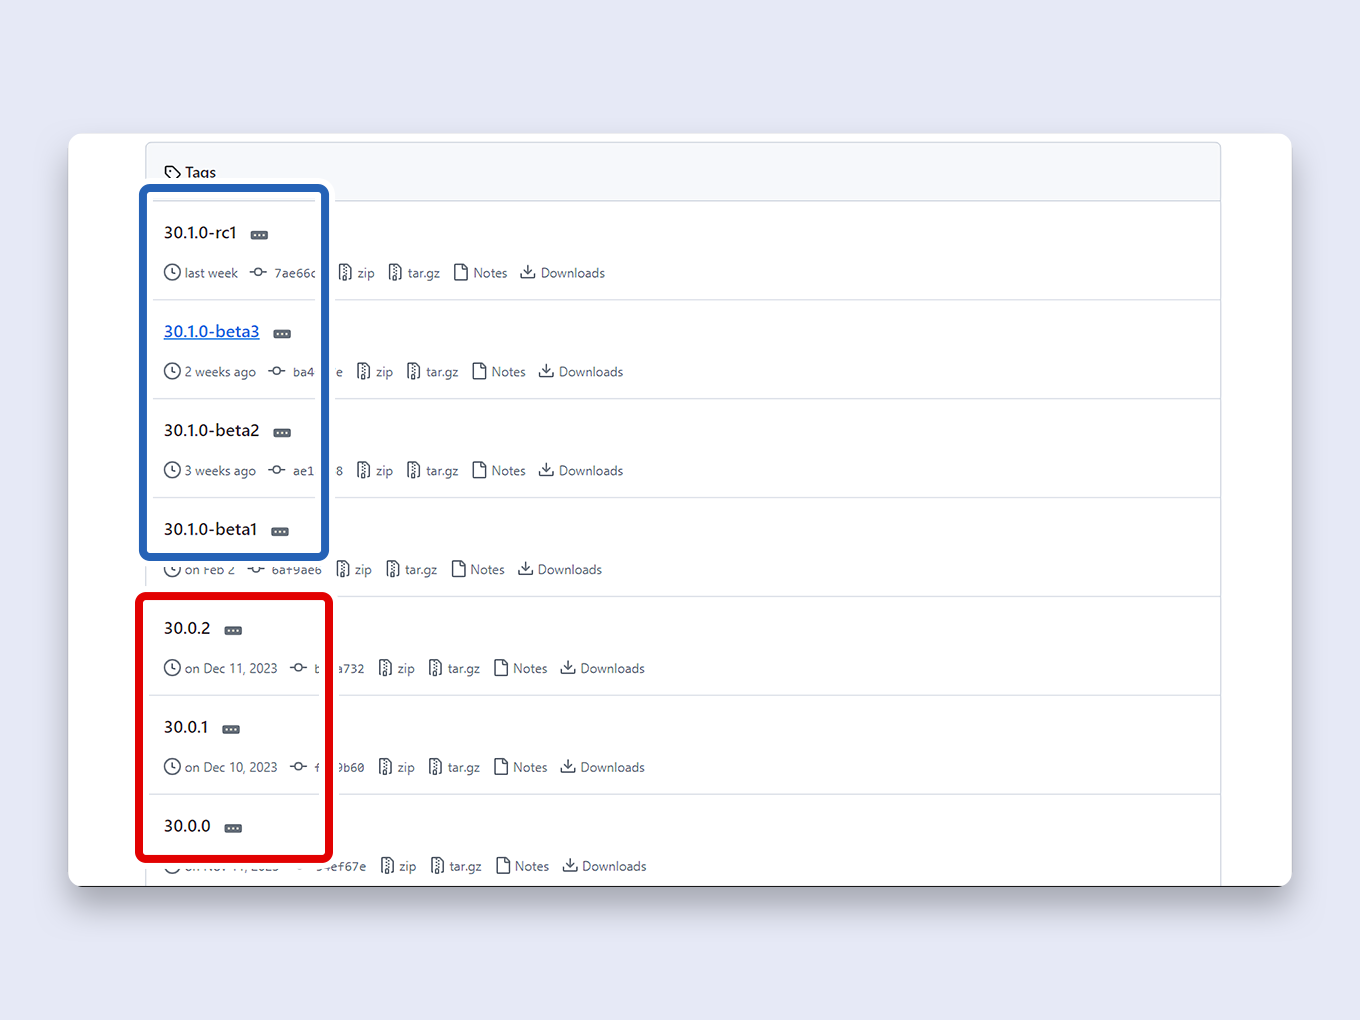
1. Choose a Version: On the page, you’ll see a list of releases. Versions marked with -rc (Release Candidate) or -beta are test versions. It is recommended to choose a stable release that does not have these tags. Click on the version number you want to download.
Example Use Case: A recent OBS update caused issues where VALORANT would not launch. Reports indicate that downgrading to version 30.2.3 or older resolves this specific problem.
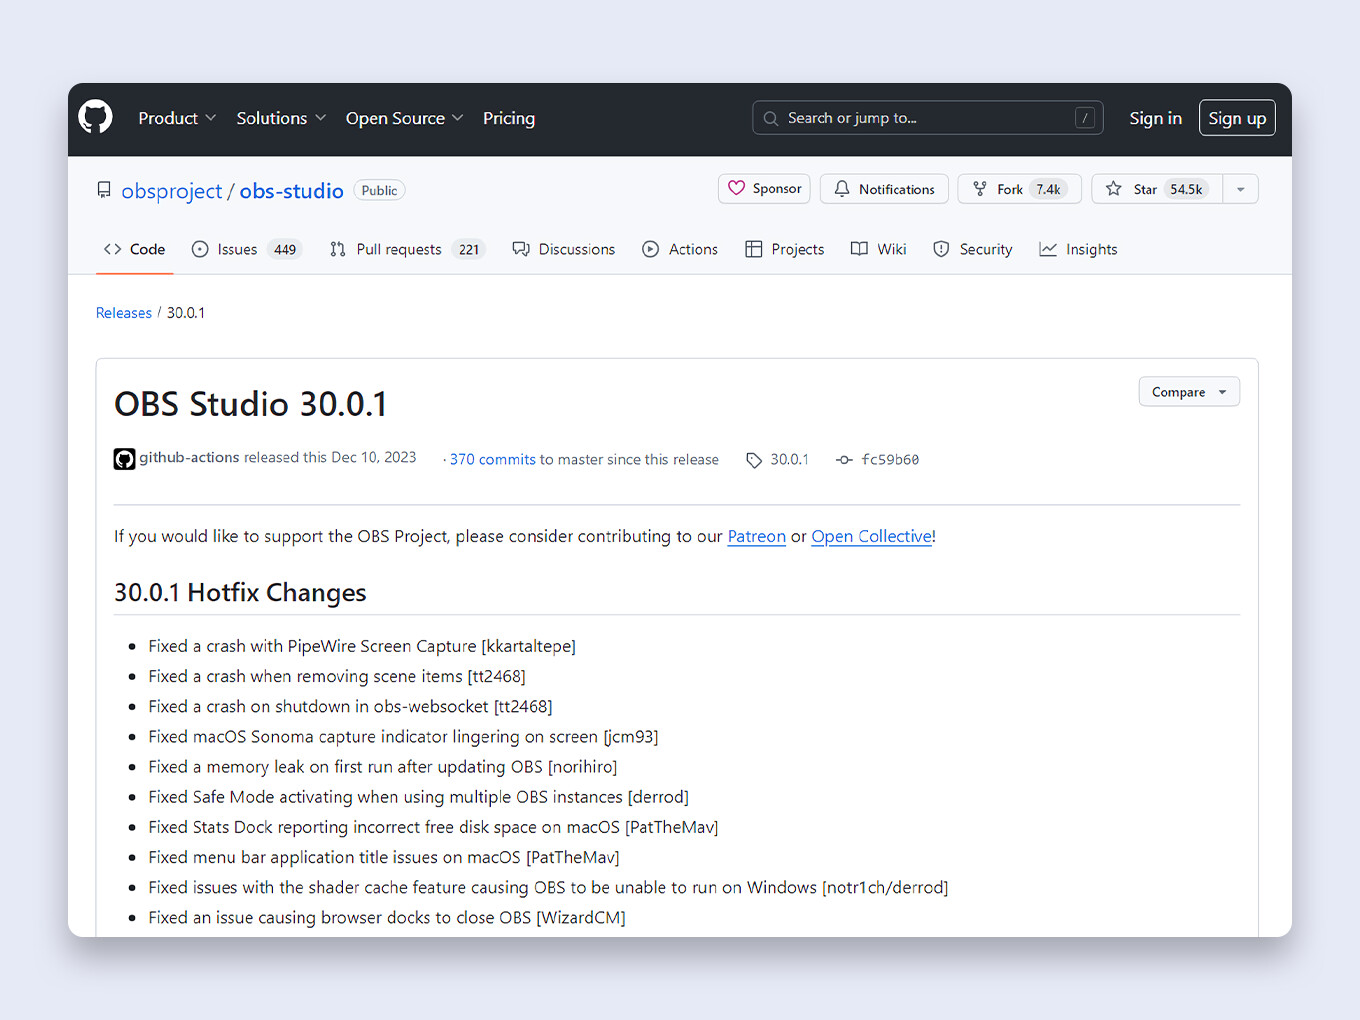
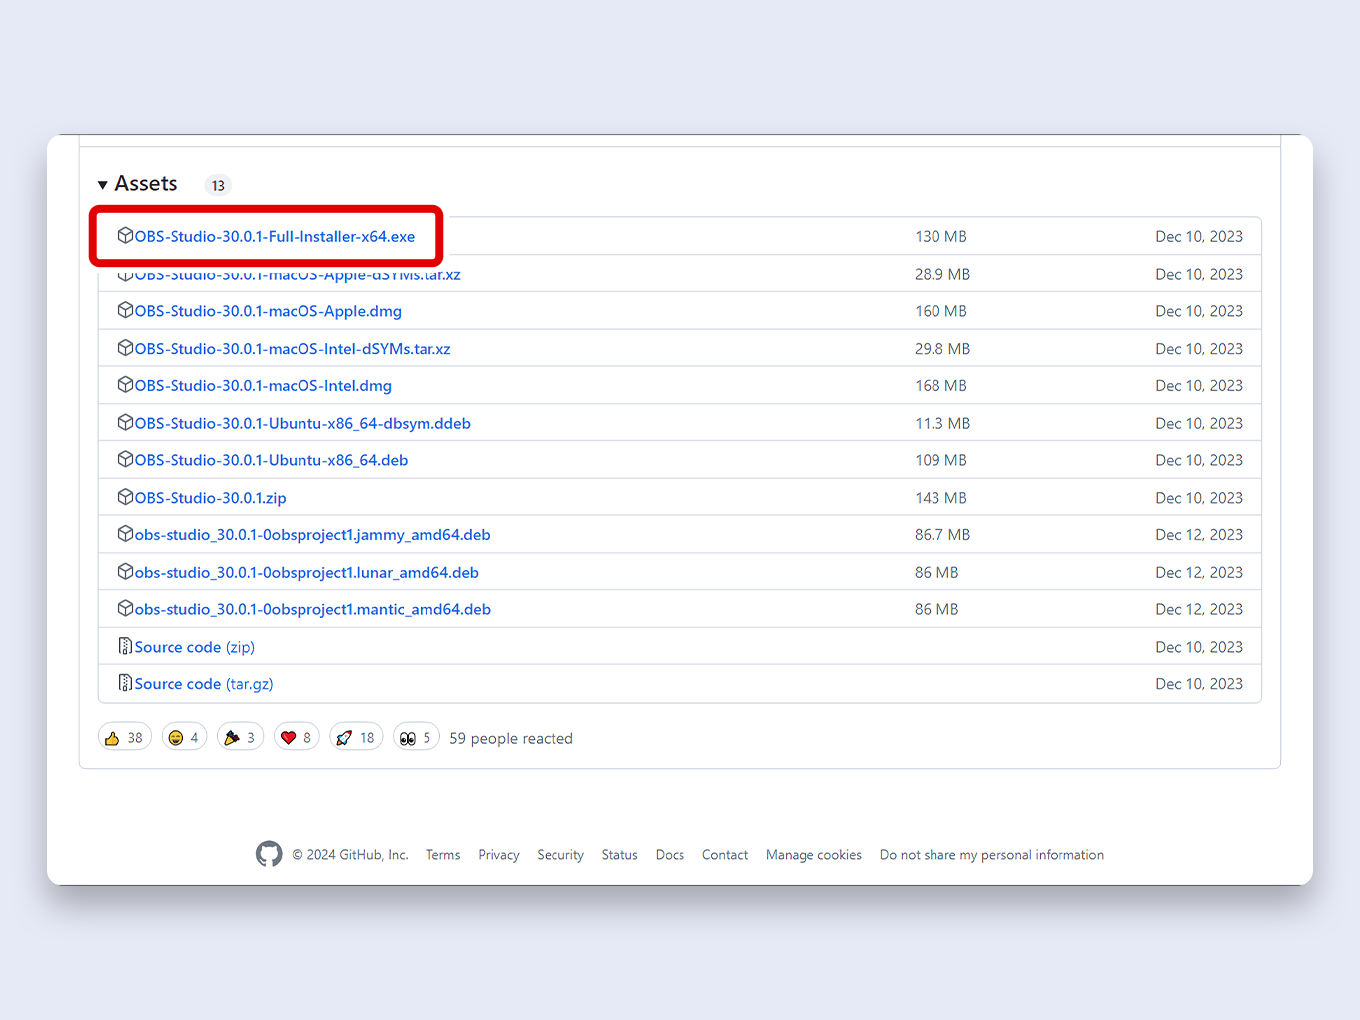
2. Find the Installer: After clicking a version, scroll down to the Assets section.
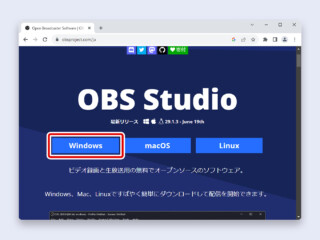
3. Download the File: Find and click the installer for your system. For most Windows users, this will be OBS-Studio-x.x.x-Full-Installer-x64.exe.
The download will begin immediately.
3. Install the Older Version
1. Close OBS: Before you start, ensure OBS Studio is completely closed. Check your system tray to make sure it’s not running in the background.
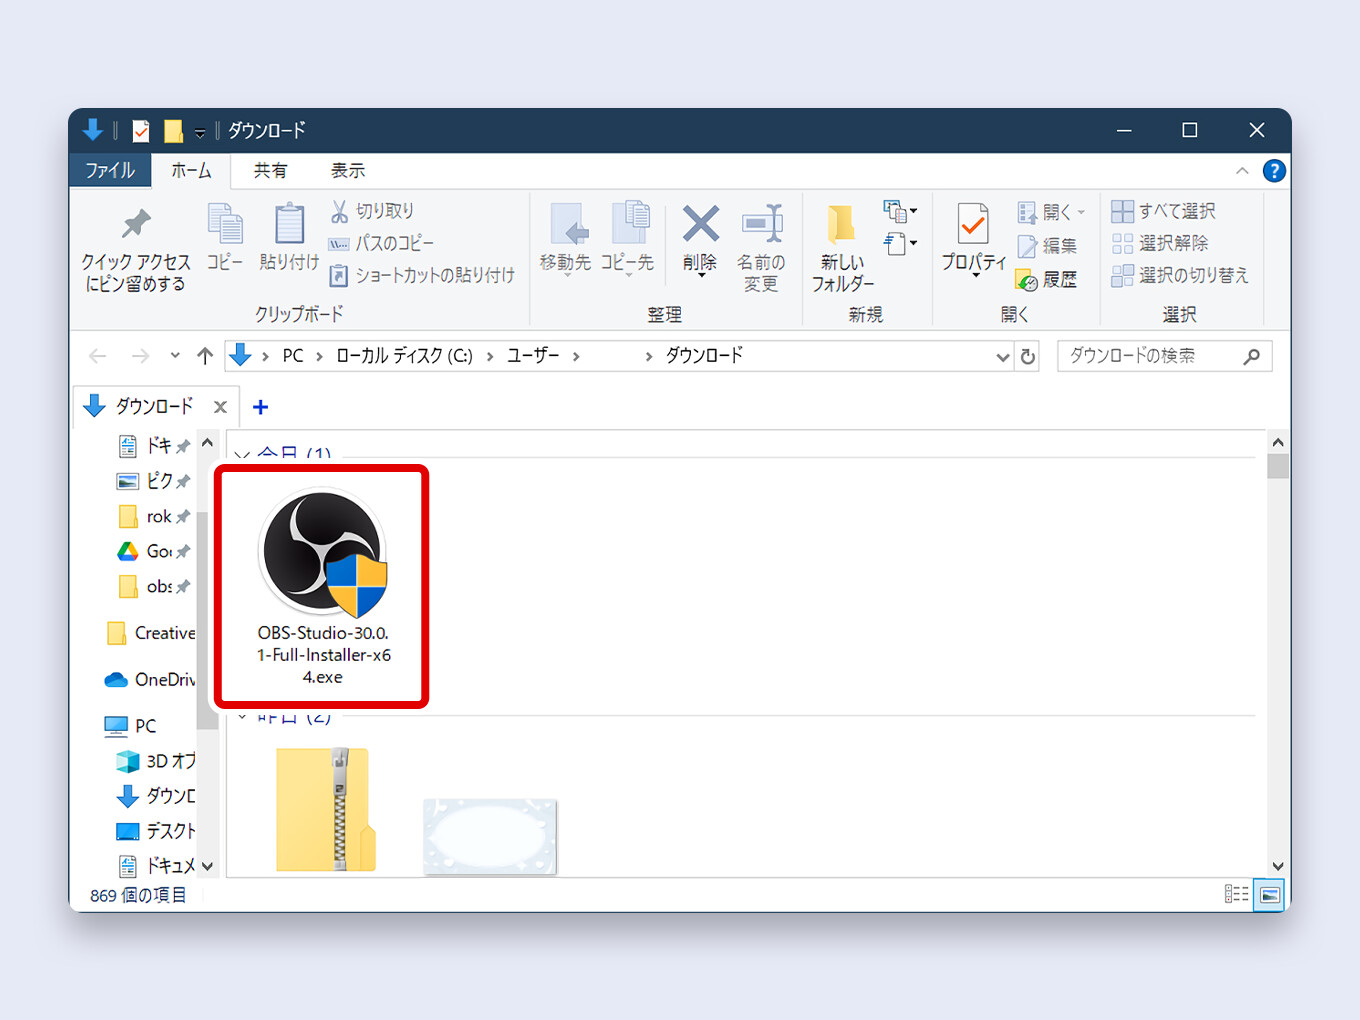
2. Run the Installer: Locate the installer file you just downloaded and double-click it. Follow the on-screen prompts to install it.
The process is the same as a normal installation and will automatically overwrite your current version.
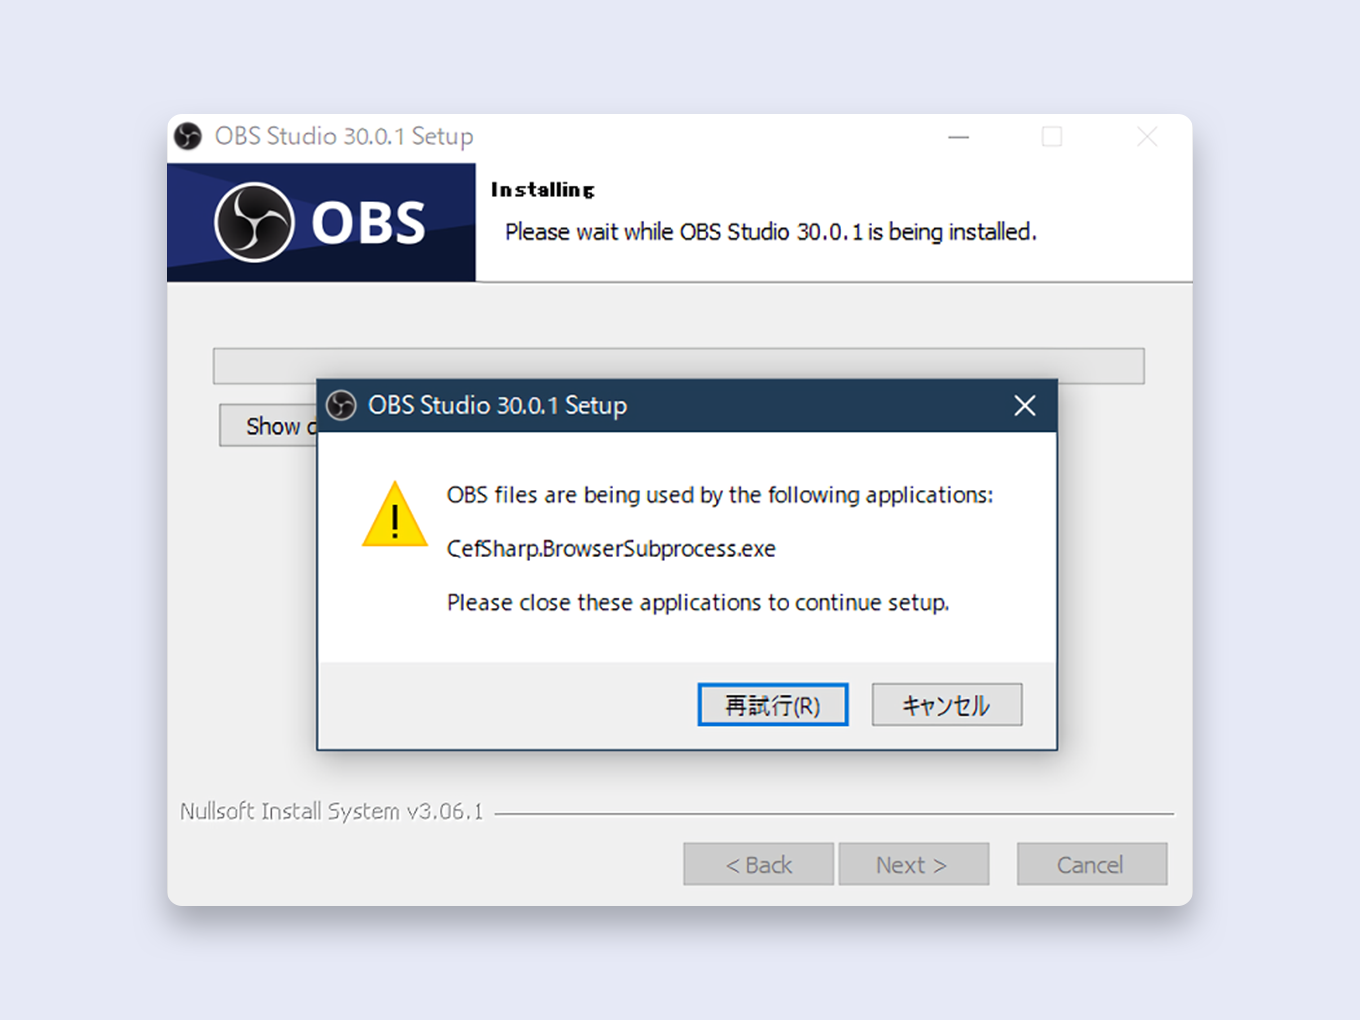
Troubleshooting Tip: If you see an error message stating “OBS files are being used by the following applications,” it means a part of OBS is still running.
The simplest fix is to restart your computer and then run the installer again.
The installation will now proceed, downgrading your OBS to the older version.